How to Show Discounted Prices on Shopify Product Pages (No Code)
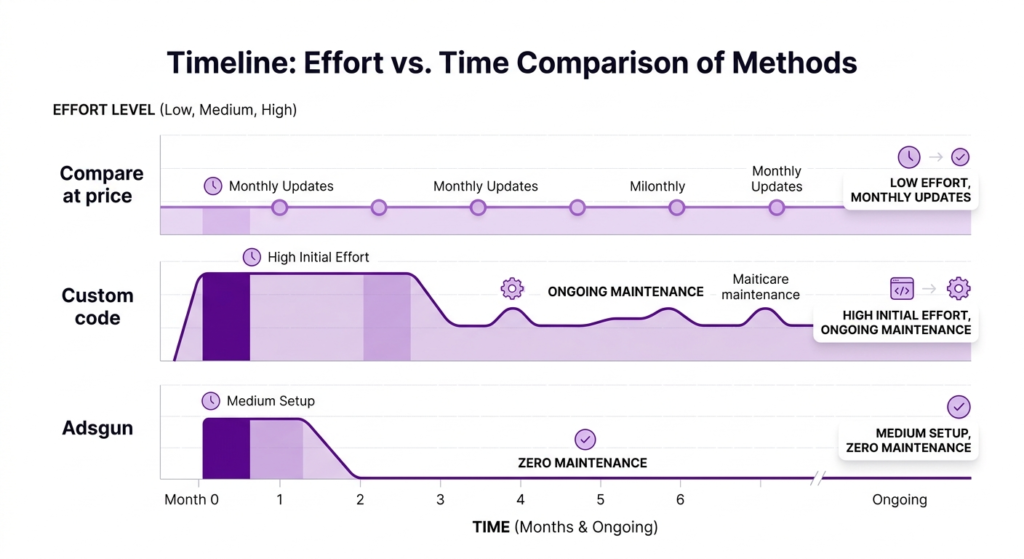
Compare three methods to show discounted prices on Shopify: manual compare at price, custom code, and Adsgun. Includes step-by-step walkthroughs, pros, cons, and real ROI data.
The Goal: Discounted Prices That Convert
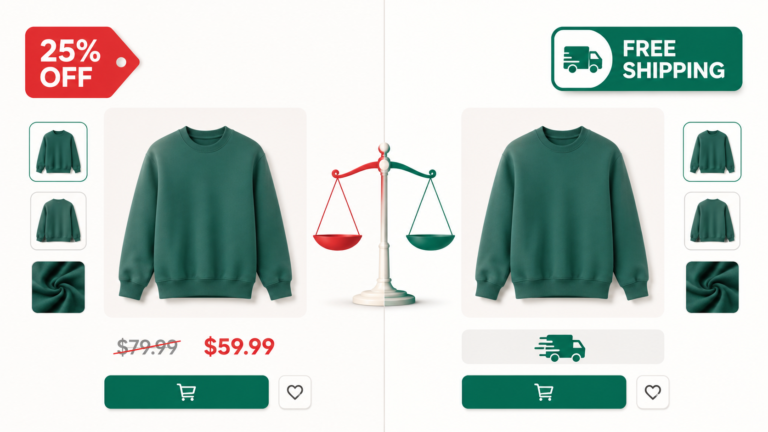
Your Shopify store runs discounts. But they’re invisible until checkout. You want customers to see the discount on product pages where they make the decision to buy. The fastest way to show discounted prices on Shopify is to match your store’s display to the actual discount running in the background. This post walks through three methods to do exactly that, ranked by effort, effectiveness, and long-term maintainability.
Let’s walk through each method.
Method 1: Manual Compare at Price (Lowest Effort, Lowest Effectiveness)
The simplest approach: use Shopify’s built-in “compare at price” field.
How it works:
- Go to Products in your Shopify admin
- Click a product
- Scroll to Pricing
- Enter a “Compare at price” value higher than the selling price
- Save
- Your theme displays it struck through on the product page
Pros:
- Free (no app or developer)
- Simple to understand
- Built into Shopify
- Works on product pages and collections (depending on theme)
Cons:
- Manual: every time you change a discount, you manually update compare at price on each product
- Doesn’t reflect real discounts: it’s just a number you enter, not connected to your Shopify discount system
- Variant issues: each variant has its own compare at price; they get out of sync easily
- Can’t express complex logic: “15% off for VIP customers” can’t be expressed as compare at price
- Analytics break: compare at price doesn’t show as a discount in Shopify analytics; it looks like regular revenue
- Doesn’t work with all discount types: automatic discounts and codes are invisible with compare at price
- Inconsistency at scale: if you have 1,000 products, keeping compare at price in sync with actual discounts is impossible
When to use:
Only if you have very few products, one static discount that never changes, and you don’t care about accurate analytics.
Cost:
Free, but costs you revenue and time (manual updates, analytics confusion).
Step-by-Step: Setting Compare at Price
If you decide to use this method, here’s exactly how:
Step 1: Identify your discount
Decide what discount you’re running. Let’s say: 20% off, so a $100 product becomes $80.
Step 2: Calculate compare at price
The “compare at price” should be the original price. So $100.
Step 3: Set selling price
The “selling price” (or “price”) should be the discounted amount. So $80.
Step 4: Go to your product
In Shopify admin, go to Products > Your Product.
Step 5: Edit pricing
Scroll to Pricing. You’ll see:
- Price (selling price): Enter $80
- Compare at price: Enter $100
Step 6: Handle variants
If your product has variants, you must set compare at price on EACH variant. Click “Variants” and set compare at price for every size, color, etc.
Step 7: Save and check
Click Save. Go to your product page on your store and verify the strike-through displays correctly.
Step 8: Repeat for all products
Do this for every product that’s discounted. Yes, it’s tedious. That’s why method 1 doesn’t scale.
Method 2: Custom Code (Medium Effort, Moderate Effectiveness)
Hire a developer to add code to your Shopify theme that displays discounts on product pages.
How it works:
- You provide your developer access to your theme code
- The developer adds Liquid code to your product and collection templates
- The code reads your Shopify discounts and calculates discounted prices
- The prices display on product pages
Pros:
- Connects to real Shopify discounts
- Can calculate prices dynamically
- Can be customized for your theme
- Works with most discount types
Cons:
- Expensive: $500-2,000 for a developer
- Fragile: breaks when your theme updates
- Requires ongoing maintenance: every theme update risks breaking the code
- Requires a developer: you can’t modify it yourself without hiring them again
- Maintenance cost: every time the code breaks, you pay your developer again
- Limited to web: code in theme files doesn’t work in mobile apps or other channels
- Debugging is slow: if the code breaks, it takes time to diagnose and fix
When to use:
Only if you have a dedicated developer on staff or a large budget for ongoing maintenance.
Cost:
$500-2,000 upfront + ongoing maintenance. Over 12 months with 2-3 theme updates, expect $1,000-3,000 total cost.
Step-by-Step: What Your Developer Would Do
For reference, here’s roughly what a developer would add (you don’t need to understand this; your developer will):
“liquid
{% if product.compare_at_price %}
{{ product.compare_at_price | money }}
{{ product.price | money }}
{% else %}
{{ product.price | money }}
{% endif %}
“
If you want to understand why Shopify’s architecture hides discounts in the first place, this explainer covers the full checkout-first design and what it costs your store.
This displays a strike-through (original price) and sale price if compare at price is set.
A more advanced implementation would read Shopify’s discount rules and calculate the price, but this gets complex quickly.
Method 3: Show Discounted Prices on Shopify with Adsgun (Recommended Approach)
Use an app specifically built to display discounts on product pages.
How it works:
- Install Adsgun from the Shopify App Store
- Create a promotion (connect it to your Shopify discount)
- Choose where to display it (product pages, collections, cart)
- Enable strike-through pricing
- Publish
- Done
Not sure which Shopify discount type to use? See our guide on Shopify promotion codes and how to make them visible.
The app reads your discounts and displays them automatically.
Pros:
- No code required: anyone can set it up
- Fast setup: 5-10 minutes for the whole process
- Works with all discount types: automatic discounts, codes, compare at price
- Real-time updates: change a discount and prices update instantly across all products
- Theme-agnostic: works with any Shopify theme
- Survives theme updates: uses Shopify’s app framework, not theme code
- No maintenance: the app is maintained by Adsgun; you get updates automatically
- Multi-channel: works on product pages, collections, cart, and across devices
- Analytics: see how many customers saw the discount and when they converted
- Advanced features: discount scheduler, multi-currency support, customer segments
Cons:
- Monthly subscription: $19-249 depending on plan
- App dependency: if the app has an issue, you’re affected (rare, and Adsgun support is quick)
When to use:
For 95% of Shopify stores. If you run any discounts, Adsgun is worth the cost.
Cost:
Free trial (7 days), then $19-249/month depending on features. Adsgun Core (most popular) is $19/month + 1.5% revenue fee.
On a store making $50K/month, Core costs: $19 + ($50K × 1.5%) = $19 + $750 = $769/month.
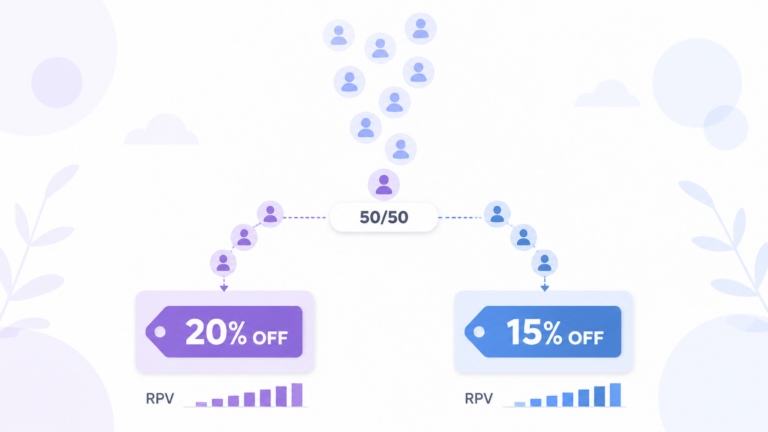
ROI: Adsgun’s average customer sees a 5-10% conversion lift from showing discounts earlier. On $50K/month revenue, a 5% lift = $2,500 extra revenue. The app pays for itself 3x over.
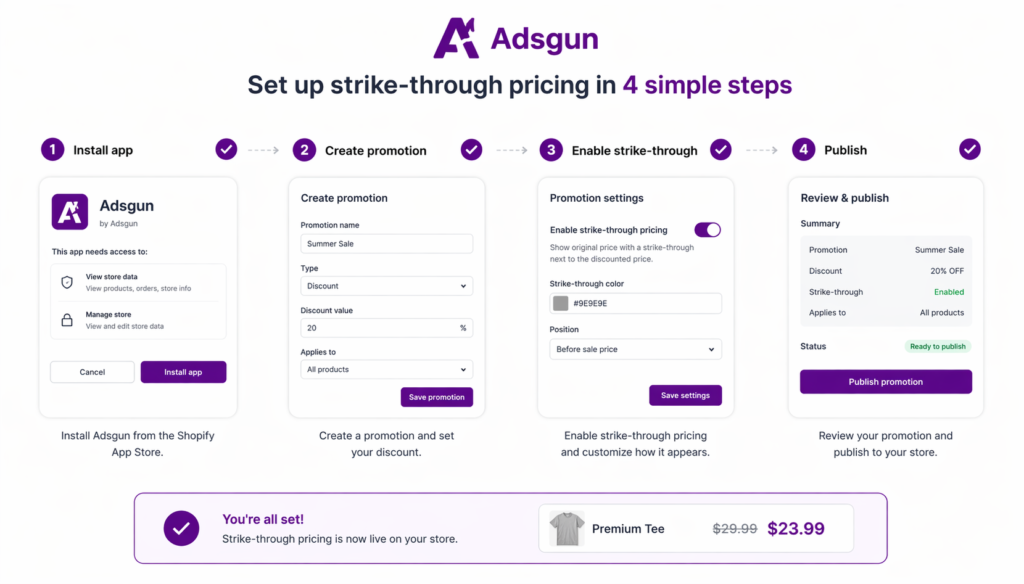
Step-by-Step: Setting Up Adsgun
Step 1: Install from App Store
Go to apps.shopify.com/adsgun and click Install.
Step 2: Approve permissions
Adsgun needs to read your products, discounts, and orders. Click Approve.
Step 3: Navigate to Adsgun dashboard
In your Shopify admin, go to Apps > Adsgun.
Step 4: Create a promotion
Click “Create Promotion.”
Step 5: Select a discount
Choose the Shopify discount you want to display (your 20% off automatic discount, for example). If you haven’t created a discount yet, create it in Settings > Discounts first.
Step 6: Choose products/collections
Select which products or collections to show the discount on. You can choose all products or specific ones.
Step 7: Enable strike-through pricing
Toggle on “Show strike-through pricing.” Choose the style:
- “Was $100, Now $80”
- “Save $20 (20% off)”
- Custom format
Step 8: Choose display pages
Check the boxes for where to show the discount:
- Product pages
- Collection pages
- Cart page
- Checkout page
Step 9: Publish
Click Publish. Within seconds, your discounted prices are live.
Step 10: Verify
Go to your store and check a product page. The strike-through pricing should be visible.
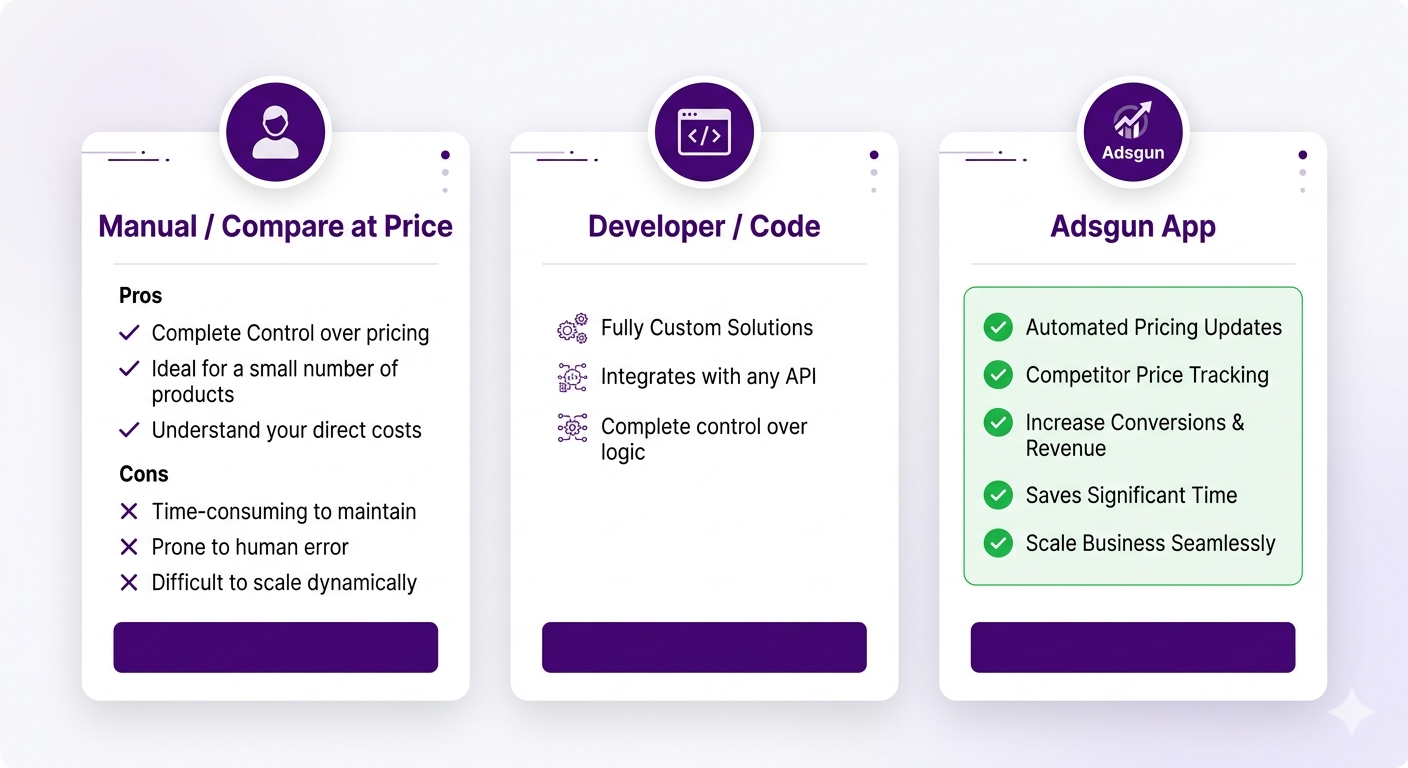
Comparison: Which Method Is Right for You?
Why Most Shopify Stores Can’t Show Discounted Prices Automatically
| Factor | Compare at Price | Custom Code | Adsgun |
|---|---|---|---|
| Setup time | 30 min – hours | 8 hours | 5 minutes |
| Cost | Free | $500–2,000 | $19–249/month |
| Maintenance | High (manual updates) | High (breaks on theme updates) | None |
| Works with all discounts | No | Partial | Yes |
| Updates in real-time | No | No | Yes |
| Survives theme updates | Yes | No | Yes |
| Requires developer | No | Yes | No |
| Mobile app support | No | No | Yes |
| Multi-currency | No | Partial | Yes |
| Analytics | No | No | Yes |
| Grade | C | B- | A |
Shopify’s discount engine was deliberately separated from product pricing at checkout. That’s why automatic discounts and codes don’t show discounted prices on product pages out of the box. For a deeper breakdown of this architectural decision, see why Shopify discounts don’t show until checkout.
Real Results: The Tire Streets Case Study
Tire Streets, a mid-size e-commerce store, was running automatic discounts but not showing them on product pages. They had the same 19,000 monthly visitors and 2.78% conversion rate as before.
They decided to show their discounts visibly on product pages using Adsgun. One week of running visible discounts:
- Conversion rate: 2.78% → 3.17% (+14%)
- Orders: +18%
- Revenue: $228.5K → $266.3K (+$37,800 in one week)
They didn’t change their traffic, their products, or their discounts. They just made discounts visible earlier in the customer journey. That single change converted 14% more of the same visitors.
This demonstrates the power of showing discounts on product pages. The method you choose (compare at price, code, or Adsgun) determines how effectively and sustainably you can achieve this.
For more tactics on converting existing traffic into revenue, see how to push sales on Shopify.
The Recommendation: Adsgun
For most stores, Adsgun is the clear choice:
- Faster than code (5 min vs. 8 hours)
- Cheaper than code long-term ($3K/year vs. $3K per theme update)
- More effective than compare at price (real discounts, not manual numbers)
- No ongoing maintenance (compare at price requires manual updates every time you change a discount)
Research from Baymard Institute confirms that around 70% of shoppers never reach checkout, which means the product page is where most buying decisions are made. Showing discounts at that stage is where the conversion lift happens.
Try it free for 7 days. If it doesn’t increase your conversion rate by at least 2-3%, it doesn’t cost you anything. But if it does (and based on results like Tire Streets, it probably will), you’ve found a leverage point that’ll multiply your revenue.
Ready to Show Discounted Prices?
Pick your method. Compare at price for simplicity (with caveats), custom code if you love maintenance work, or Adsgun if you want results without the headache.
Start your free 7-day Adsgun trial. See how many more customers convert when discounts are visible on product pages.